
Video marketing turns a static listing into an immersive experience. A short walkthrough clip can spark curiosity, answer buyers’ questions, and get properties off the market faster.
A well-crafted listing video doesn’t just look good—it drives results.
Benefits Of Video Marketing For Real Estate Agents
When agents embrace video, they see clear gains on every front.
Here’s how dynamic content can lift your listings:
- Lead Volume: Engaging visuals draw in more inquiries.
- Time on Market: Buyers commit sooner once they’ve “walked through” a space.
- Engagement Rate: Viewers stick around longer with moving images.
Research from Resimpli’s Real Estate Video Statistics shows listings with video generate 403% more inquiries and close up to 31% faster than those without. Yet only 9–10% of agents are tapping into this advantage.
Below is a snapshot of what video marketing brings—and where most agents haven’t ventured yet:
Benefits of Video Marketing for Real Estate Agents
| Benefit | Impact | Adoption Gap |
|---|---|---|
| Lead Growth | 403% more inquiries | 90% of agents still haven’t tried |
| Faster Sales | 31% faster closings | 90% of agents aren’t using video |
| Competitive Edge | Higher engagement and recall | 90% of agents missing out |
These gaps aren’t just stats—they’re prime real estate.
Video-led listings close sooner and build genuine client trust by showing homes in full motion.
Key Metrics To Track
Dial in on metrics that prove your efforts pay off:
- Total Inquiries: Are your videos driving more questions?
- Average View Duration: Do viewers watch through the end?
- Click-Through Rate: How many click your scheduling link?
- Conversion Rate: What percentage of watchers book a showing?
Monitoring these numbers shows what’s working and where to tweak your approach.
Real Agent Success Story
In Minneapolis, agent Sarah filmed a 90-second drone walkthrough of a mid-century modern home. That single clip brought in 150 leads within a week and filled 25 showing slots in 48 hours.
What set her video apart:
- Teased the rooftop terrace at the start to hook viewers.
- Highlighted original wood beams with on-screen callouts.
- Scheduled a “live virtual open house” and promoted it on social media.
When pitching sellers, Sarah points to a 20% reduction in days on market and a 15% price bump for consistently video-driven campaigns. On average, she’s seeing:
- $4,500 in extra commissions per property.
- 50% lift in qualified inquiries.
- 10 hours saved each month using AgentPulse’s AI-driven workflow.
These results align with broader industry trends—then adapt them to your own market’s price points and commission splits.
Ready to stand out? Start weaving video into your listings this week, track those early wins, and let your results write the rest of the story.
Planning Video Types And Formats
Selecting the right video style influences engagement from the very first second. Real estate content can range from detailed property tours to quick neighborhood snapshots. Mapping formats that align with buyer habits turns your calendar into a reliable growth engine.
Popular Formats For Real Estate Videos
- Listing Walkthroughs guide viewers room by room, highlighting design features.
- Neighborhood Tours mingle footage of parks, cafés, schools and give a true sense of community.
- Agent Introductions put prospects at ease by letting them meet you before they pick up the phone.
- Client Testimonials rely on genuine stories to build trust and social proof.
- Targeted Ad Clips zero in on a single hook, perfect for paid campaigns or short attention spans.
I’ve seen one agent use drone footage to showcase sprawling backyards and rooflines. Another drove 25% higher open-house attendance with 15-second Instagram Reels.
About 58% of buyers want to see a video of a home they’re considering, and 86% of home shoppers use video to learn about communities. You can explore these figures in depth on Keeping Current Matters.
Below is an infographic visualizing how video impacts leads, sales, and adoption rates.
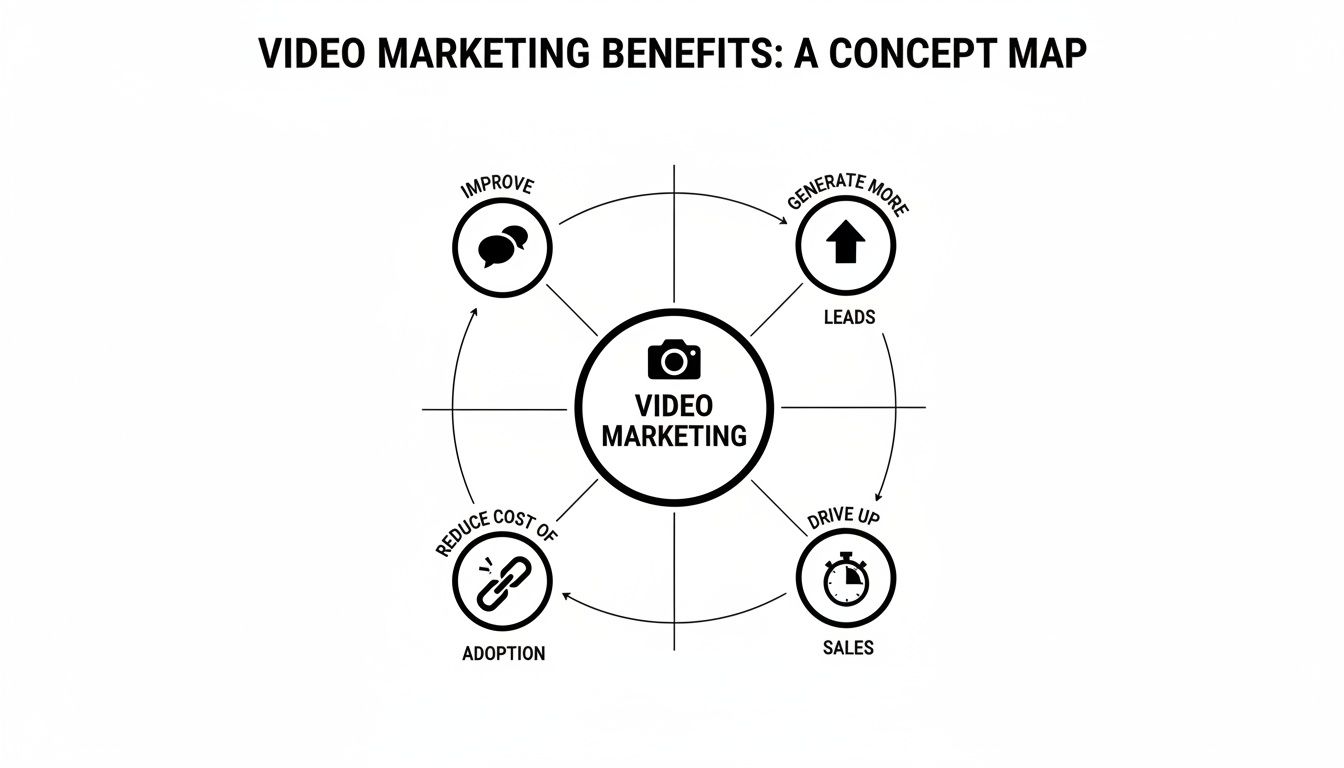
Many agents haven’t fully embraced video—an opportunity waiting for you.
Choosing Length And Platform
Audience expectations shift from one platform to the next. Aim for 2–3 minute walkthroughs on YouTube, while keeping Instagram and TikTok clips to 30–60 seconds.
Comparison of Video Types And Use Cases
This table breaks down common video styles, their key goal and ideal distribution channel:
| Video Type | Purpose | Best Platform |
|---|---|---|
| Listing Walkthroughs | Showcase property | YouTube, Facebook |
| Neighborhood Tours | Highlight community | Instagram, TikTok |
| Agent Introductions | Build rapport | LinkedIn, Facebook |
| Client Testimonials | Show trust | YouTube, Website embeds |
| Targeted Ad Clips | Drive leads | Facebook Ads, Instagram Stories |
Use this chart to fill your content calendar and adjust based on engagement data.
Handy Tips For Hooks And Calendars
- Start with a compelling hook in the first 5 seconds to keep viewers watching.
- Rotate formats every two weeks to cover different buyer stages.
- Batch-record similar videos in one session to reduce setup time and keep the look consistent.
Find detailed shot lists, script templates and calendar samples in our Videos for Realtors guide.
Scripting Hooks To Capture Attention
A sharp teaser can slash drop-off rates. Match each intro to your main selling point:
- Property Tease “Wait until you see the rooftop terrace with panoramic city views.”
- Local Perk “Discover the farmers’ market just steps from your front door.”
- Quick Win “Learn how this home went under contract in 48 hours.”
Slot these hooks into your planner to avoid creative burnout.
Timing Suggestions Based On Buyer Behavior
Evening posts work best for full walkthroughs. Schedule them between 6–8 PM on Tuesdays and Thursdays.
Short reels and clips should drop during the morning rush, around 7–9 AM on Mondays, Wednesdays and Fridays.
Weekend community tours shine on Saturdays and Sundays between 10 AM and 12 PM.
Always end with a clear CTA—“Schedule a tour” or “Learn more”—and watch your conversion rates climb.
This playbook gives you a roadmap for matching video formats and publishing times to real estate audiences. Start filling in your calendar and track the results for quick wins.
Production Workflow With DIY And AI Tools
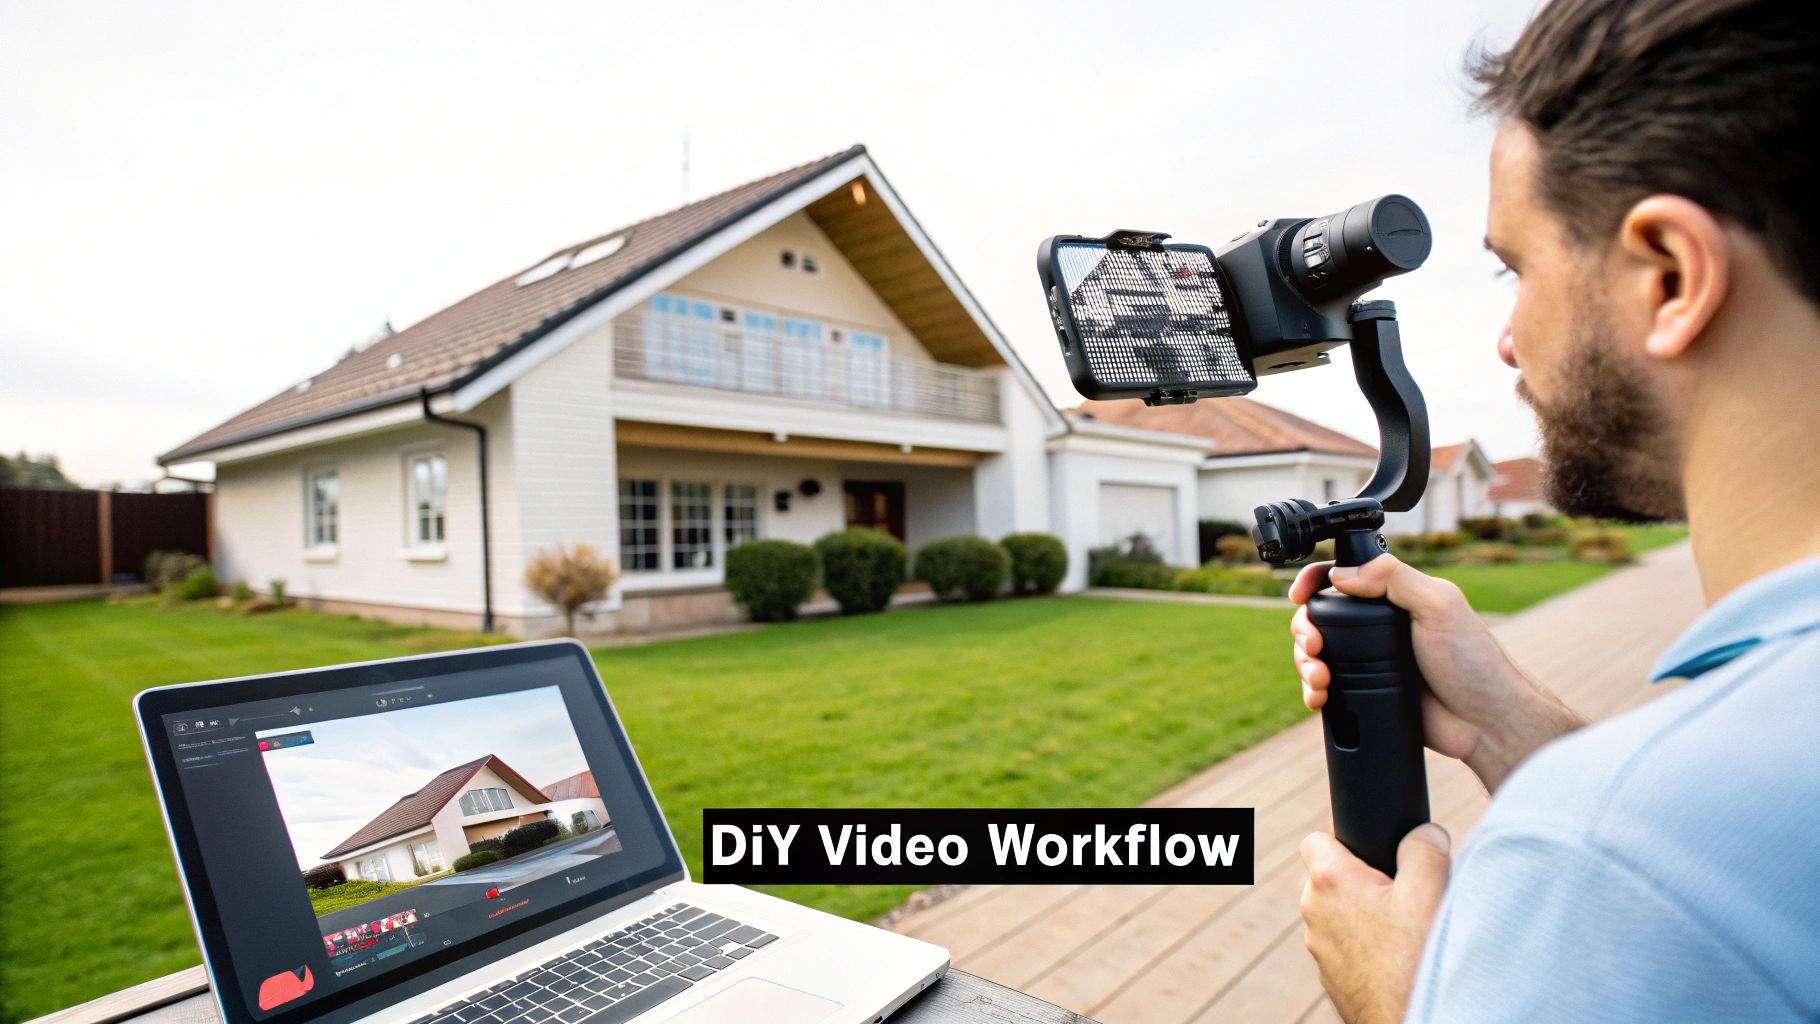
You don’t need a massive budget to make property videos that pop. Modern AI tools let you slash editing down from hours to minutes.
Start by sketching out a shot list room by room. Jot down standout features—think kitchen islands, built-in shelving, or sunlit bay windows.
- Map each shot to its room
- Highlight unique amenities first
- Craft an opening “hook” shot
- Drop in neighborhood cutaways
Grab a smartphone and a gimbal, then batch-film three or four walkthroughs in one afternoon. That way you keep framing tight and spend less time on resets.
Once you wrap shooting, import your clips into intelligent editing apps. Color tweaks, audio balancing, and captions can run simultaneously—often cutting edit time by 50% or more.
Choosing Your AI Tools
Picking the right mix of desktop and mobile apps is a game-changer. Consider these go-to solutions:
- Veed.io for quick auto-captioning and snappy transitions
- DaVinci Resolve with AI color matching and noise reduction
- Adobe Premiere Pro plugins like Scene Edit Detection
- Descript for script-driven cuts and voiceovers
“I went from three hours of editing to just 45 minutes per video,” says agent Maria Lopez from Austin.
| Tool | Key Feature | Time Saved |
|---|---|---|
| Veed.io | Auto captions and effects | 30% faster |
| DaVinci Resolve | AI color match | 40% faster |
| Descript | Script-driven cuts | 60% faster |
Using these tools on your phone and desktop keeps you nimble when new listings pop up.
Organize Files And Templates
A cluttered folder system bogs you down. Keep footage, audio, and exports in clearly labeled directories.
- Create one main folder per property
- Name files by date and scene (e.g., 2025-03-21_Kitchen)
- Save final cuts in a “Final” subfolder
- Archive old projects at month’s end
Build reusable templates with your logo, intro/outro animations, and favorite transitions. You’ll reinforce your brand and avoid reinventing the wheel each time.
Check out our guide on best real estate marketing tools at AgentPulse for plugin recommendations that agents trust.
Batch Recording Workflows
Carve out shoot days instead of hopping from one listing to another. Here’s a sample flow:
- Block a morning for three nearby homes
- Film interior tours back-to-back
- Switch to neighborhood clips in the afternoon
- Cross-check your shot list before you call it
A consistent batch routine keeps your calendar full and travel costs down.
“Key takeaway: A well-organized batch workflow combined with AI tools can cut your production timeline in half.”
When you blend focused shot lists, smooth gimbal moves, AI-powered edits, and tidy file management, your video studio runs like clockwork without burning you out.
Final Tips And Next Steps
Before you hit record, sketch a mini brief with these details:
- Target video length and core message
- CTA wording and overlay placement
- Music style that fits the property vibe
- Color grade presets for a uniform look
Keep a checklist for captions, logos, and CTAs to ensure nothing slips through. At quarter’s end, purge unused footage to free up storage and speed up searches.
Finally, develop a small library of intro voice scripts and branded lower-thirds. Reusing these elements saves mental energy and strengthens your visual identity. With this playbook, you’ll churn out high-quality videos on a weekly rhythm.
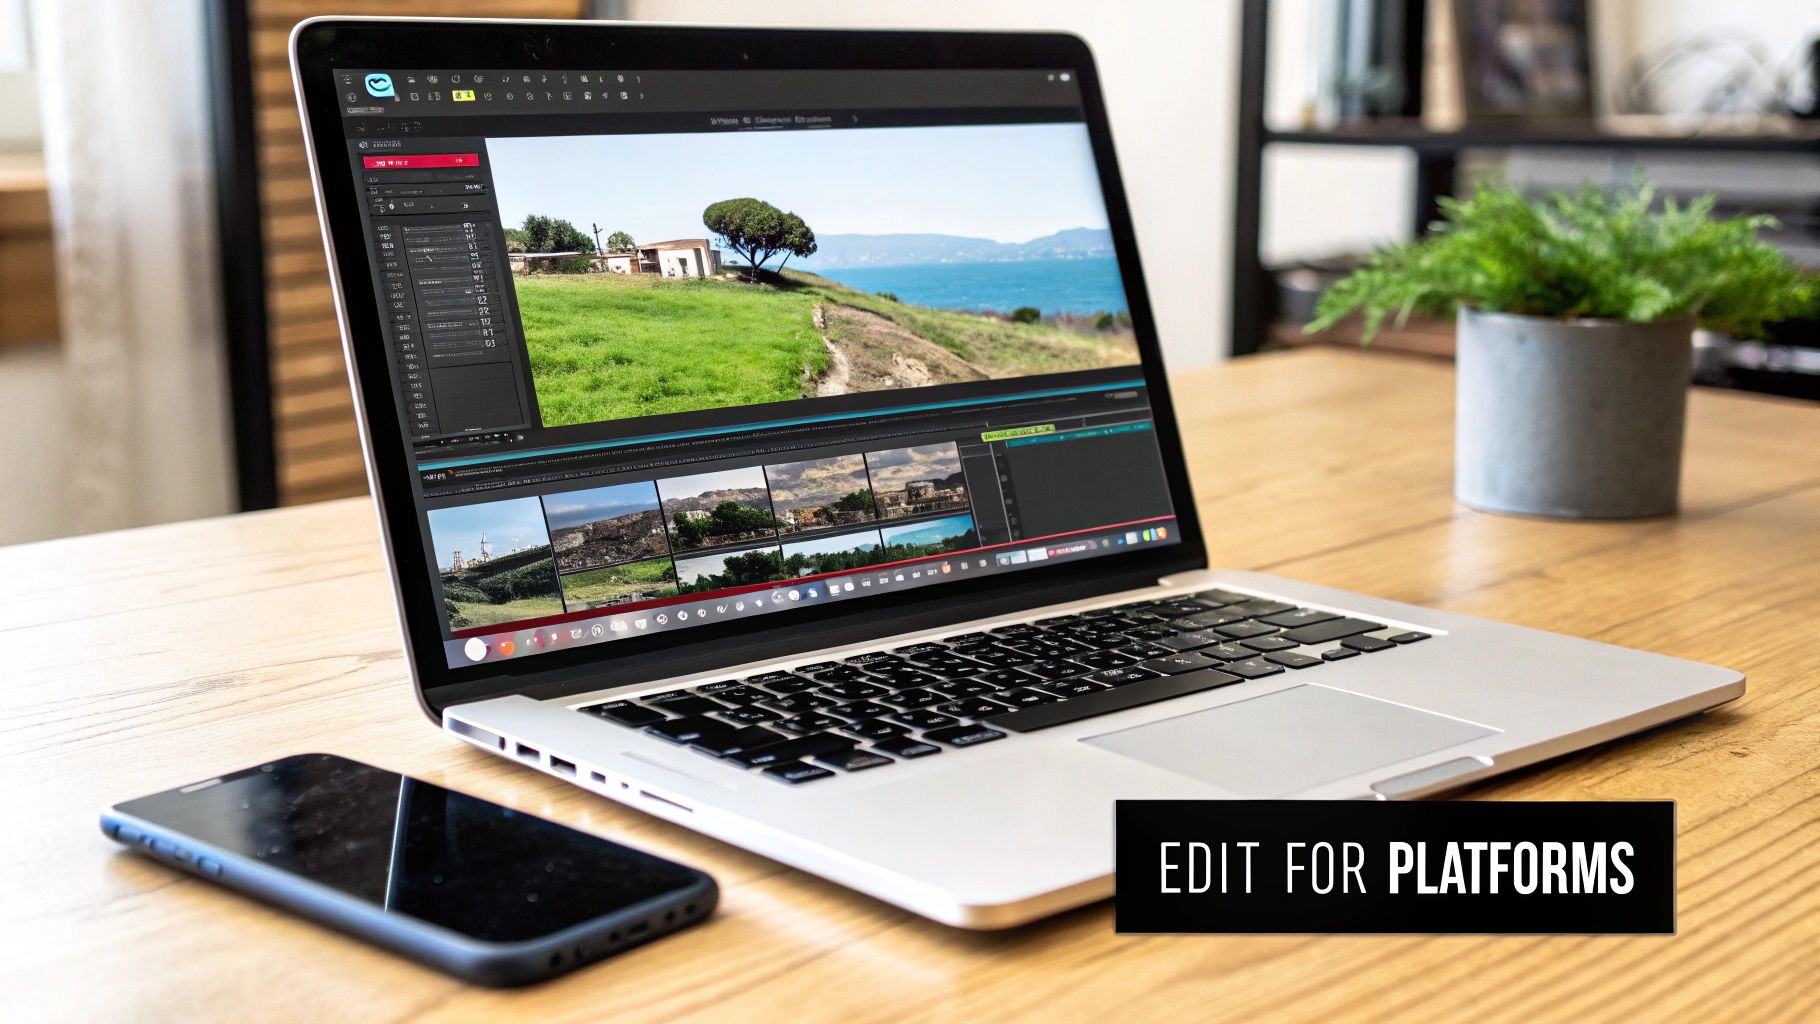
Editing Videos For Each Platform
Choosing the right edit for YouTube versus chopping a snappy Instagram Reel takes more than just resizing. You have to think about how people watch, scroll, and engage on each channel. Get those aspect ratios and runtimes spot on, and your listings will pop everywhere.
Platform Specifications
Before exporting, nail down the specs. That way you won’t end up with black bars or pixelated footage when buyers click play.
- YouTube: 16:9 ratio, 1920×1080 resolution, around 2–3 minutes.
- Instagram Reels: 9:16 vertical, 1080×1920, max 60 seconds.
- Facebook: Square (1:1) or vertical (4:5), at least 720p, keep it under 2 minutes.
- TikTok: 9:16 vertical, 1080×1920, fast cuts tied to trending soundtracks.
- Email Embeds: 600×400 pixels, MP4 format, under 30 seconds for autoplay-friendly previews.
These guidelines evolve—think IGTV spin-offs or YouTube Shorts—so stay flexible when you repurpose content.
Here's a screenshot showing social media video sizes.
This table highlights key resolutions and ratios, so you can export without guesswork.
Repurposing A Home Tour
A 3-minute house walkthrough can fuel your content calendar for days. Slice it into formats that match each feed—and watch your reach soar.
- Trim the attention-grabber down to 15 seconds for Reels and TikTok.
- Create 30–45 second square highlights for Instagram posts.
- Export the full tour in 16:9 for YouTube or your website.
- Tweak color and audio to fit mobile speakers or desktop monitors.
Break your master file into channel-specific cuts to save hours on future edits.
Branded Intros And Captions
A quick branded opener builds recognition from the first frame. Captions guarantee your message lands, even when the sound is off.
- Intro Animation: Keep it to 3–5 seconds, featuring your logo and a catchy hook.
- Captions: Auto-generate in editing apps, then polish manually for accuracy.
- Thumbnails: Bold text and bright hues can boost CTR by up to 30%.
Experiment with different overlays and caption fonts. You’ll quickly see what sparks the most clicks.
Quick Color Grading Shortcuts
A consistent look ties all your clips together, without dragging you into endless post-production.
- Bump exposure by +0.2 stops and saturation by +10% to liven up each room.
- Warm tones in living areas feel inviting; cooler tints in kitchens highlight cleanliness.
- Save these adjustments as presets in your project template for one-click consistency.
With these shortcuts, batch exporting becomes a breeze.
Thumbnail Best Practices
Your thumbnail is your billboard—make it count.
- Pick the property’s standout shot and frame it with high-contrast borders.
- Use concise overlays like “Open House Today” or “Mid-Century Gem.”
- Include faces or recognizable objects to tap into emotions.
A/B test different designs on small segments. You’ll identify the visuals that hook viewers fastest.
Export Settings And Bit Rates
Never skimp on bitrate. Too low, and you’ll see artifacts; too high, and files become unwieldy.
Aim for 5,000 kbps for HD YouTube clips and around 2,500 kbps for mobile-optimized reels. This balance keeps playback smooth on any device.
Editing For Email Campaigns
Embedding a short clip in your newsletter can spike both opens and clicks. Keep these videos tight—20–30 seconds max—and slap on a custom thumbnail.
Use inline MP4s or GIF fallbacks for inboxes that block video.
For more advanced workflows and tool recommendations, check out our guide on real estate video editing software. Start refining your process today.
Distributing Videos With Organic And Paid Tactics
Smart distribution can turn your listing video into booked showings. Organic posts and paid ads each play a unique part in attracting potential buyers.
Timing your uploads makes a difference. Native video players nudge platforms to serve your content more often, while Instagram Stories invite quick interactions through polls and stickers.
- Post walkthrough clips on Facebook between 5–7 PM on weekdays
- Share neighborhood tours in Instagram Stories midweek at 9–11 AM
- Upload agent intros as LinkedIn native videos during business hours
For instance, dropping a new loft Reel on Thursday afternoon can prime viewers for weekend open houses.
Hyperlocal Audience Segments
Focusing on specific zip codes and local interests keeps your ads relevant. With Facebook Custom Audiences, you can retarget site visitors who watched a clip but didn’t reach out.
- Create geo-fenced groups around each property
- Exclude past clients to avoid ad fatigue
- Expand reach with lookalike audiences drawn from active buyers
Adding demographic filters—think age, income range, or property type—ensures your ads land in front of people most likely to take action.
Setting Budgets And Bidding
A practical starting point is an $15–$25 daily budget on Instagram. On Facebook, compare lowest cost and target cost bidding over a week before tweaking your approach.
- Daily Cap: Align spend with your typical commission
- Bid Strategy: Choose lowest cost for volume or target cost for more consistent CPL
- Bid Adjustments: Increase by 10% if lead flow slows down
In one campaign, an agent cut their cost-per-lead by 35% simply by moving to target cost bidding on Facebook
After eight weeks, that same agent saw showing requests from Instagram ads double.
| Metric | Facebook Ads | Instagram Ads | LinkedIn Ads |
|---|---|---|---|
| Cost-Per-Lead | $18.50 | $22.10 | $35.00 |
| Click-Through Rate | 2.7% | 3.4% | 1.2% |
| Conversion Rate | 12% | 15% | 8% |
Actionable Checklist
Follow these essentials to hit the ground running. They cover everything from specs to ad cadence.
- Video Specs: MP4, H.264, 1080×1080 for square ads
- Copy: Keep it under 125 characters and include a clear CTA
- Thumbnails: Test at least two options
- A/B Tests: Swap headlines and descriptions every seven days
- Frequency Caps: Prevent audience burnout
For organic reach, reply to comments within one hour. A timely response paired with local hashtags can boost impressions by 40%.
Review paid campaigns twice a week, scaling your top performers and pausing underperformers. Then, set your CRM to tag incoming leads by campaign source for seamless follow-up.
Key Insight: A blended approach to organic and paid distribution fuels inquiry growth and drives more showings.
Tracking And Optimization
Monitoring performance is key to efficiency. Track metrics like view count, average watch time, and engagement rate to see what resonates.
- Compare cost-per-lead against your target to spot trends
- Watch click-through rates and cost per click for each creative
- Leverage automated dashboards for real-time alerts
Regular A/B tests of thumbnails, headlines, and CTAs can lift conversions by 15% within days.
Data-Driven Tweaks Can Reduce Ad Spend By Up To 20% While Boosting Lead Quality
Every month, prune weaker ads and amplify the strongest. Keep iterating weekly and let the data guide your next move.
Measuring Performance And Saving Time
Keeping a close eye on video metrics ensures every effort moves you closer to more leads and solid sales. When you track results, you’re not guessing—you’re making smart tweaks that pay off.
Start by monitoring core numbers like views, watch time, and engagement rate. These figures become the building blocks for ongoing improvement, helping you sharpen titles, tighten intros, and boost conversions.
Key Metrics To Track
- Views: Total plays show if your thumbnail and headline hit the mark.
- Average Watch Time: Reveals how well your content holds attention.
- Click-Through Ratio (CTR): Measures clicks on your calls to action.
- Conversion Lift: Tracks booked showings or completed inquiry forms.
Once you have these benchmarks, you can compare different formats. For example, stack your listing tours against brand-awareness clips to see which sparks more questions and site visits.
This table offers initial targets for various video categories:
| Video Type | Target View Rate | Goal Engagement | Expected Conversion |
|---|---|---|---|
| Listing Walkthrough | 4,000 views/week | 50% watch-through | 8% |
| Brand Clip | 2,500 views/week | 30% watch-through | 3% |
A/B Test Workflows
- Try two thumbnail designs side by side and watch how CTR changes over a week.
- Swap your overlay CTA (like “Schedule Tour” versus “Learn More”) and note the conversion shift.
- Pull budget from the low performers and double down on the winners to maximize ROI.
Key Insight: Agents reporting regular A/B tests see a 15% bump in click-through rates within just 14 days.
Interpreting Your Dashboard
- Spot a dip in watch time around the 10-second mark? That’s your cue to rework the opening hook.
- Compare CTR across platforms—maybe Instagram nails engagement while YouTube delivers deeper views.
- Track conversion trends to know exactly when to pause underperforming ads.
These patterns guide your next creative move. If your watch-time drops, swap in a stronger question or visual punch right off the bat.
Automate Your Reporting
- Use Google Data Studio or Looker Studio templates built for video insights.
- Link YouTube Analytics and Facebook Insights with auto-refresh to see real-time updates.
- Schedule weekly or monthly dashboard exports via email so your team stays aligned without manual work.
Automating these reports cuts hours of busywork and frees you up to plan your next campaign.
Time Saving Hacks
- Script Templates: Keep outlines ready for listing intros and neighborhood tours.
- Batch Scheduling Apps: Tools like Buffer or Hootsuite let you queue posts days—or weeks—ahead.
- Outsourcing Checklist: A vetted set of tasks to hand off on Fiverr or Upwork, from editing to caption creation.
Handing off repetitive tasks means more headspace for strategy and creative planning.
Case Study Example
In Austin, Maria Lopez built an automated dashboard to compare Instagram Reels versus YouTube walkthroughs. She discovered Reels drove 22% higher CTR but tended to have shorter watch times.
By shifting ad dollars into morning Reels slots, she slashed her cost-per-lead by 18% in just three weeks.
- Morning Reels at 8 AM pulled in 3,500 views in the first 48 hours.
- YouTube tours still held viewers for 45% of each video.
- Overall leads climbed by 12% month-over-month.
“Building data routines cut our guesswork and made every dollar count,” says Maria.
Next Steps
Make weekly metric reviews a non-negotiable. Then block out time each month to adjust your targets and refresh your templates.
- Set calendar reminders for short, focused metric checks.
- Swap in fresh hooks or visuals when you update scripts quarterly.
By letting data guide your next listing video, you turn insights into consistent growth.
Frequently Asked Questions
Real estate agents often juggle tight budgets, shaky gear, and the pressure of analytics dashboards. This section answers the most common video marketing puzzles—no fluff, just practical tips you can try today.
Equipment Essentials
Shooting a polished video doesn’t have to drain your bank account. For many agents, a decent smartphone with 4K recording, plus a few affordable accessories, does the trick.
- Smartphone that captures 4K footage
- Lightweight gimbal to keep your shots smooth
- Clip-on mic for clear voiceovers and dialogue
- Optional mirrorless camera if you want to level up
- Basic LED panels to banish shadows in dim rooms
Posting Schedule
Building an audience is all about showing up consistently. Aim for at least one full property tour each week, and sprinkle in two or three bite-sized updates or behind-the-scenes clips.
- Weekly Listing Tours
- Biweekly Market Insights
- Mini BTS Clips Throughout the Week
Batch your shoots whenever possible. A two-hour block once a month often beats scrambling to grab footage day by day.
“Focus on real connections over perfect production when possible.”
Metrics And ROI
It helps to know which numbers really move the needle. Track watch time and engagement rates to gauge if people care, then drill into click-throughs and conversion lift to see which videos turn views into showings.
- Watch Time: Are viewers sticking around?
- Engagement Rate: Are they liking, commenting, sharing?
- Click-Through Rate: Which teasers drive traffic back to your site?
- Conversion Lift: How many views lead to actual inquiries?
Run quick A/B tests on your thumbnails and CTAs. Double down on what’s driving down your cost-per-lead.
Budgeting Paid Ads
You don’t need a huge ad budget to make a splash. Starting small lets you learn which neighborhoods and offers resonate, without burning cash.
- Begin with $10–$20 per day to test ad creative and audience segments
- Zero in on hyperlocal targets to cut waste
- Increase spend once your cost-per-lead drops under $20
Take a few minutes each week to scan your metrics. Tweaking bids in response to trends keeps your ROI in the green.
Ready to produce stunning listing videos in minutes? Try AgentPulse and transform still photos into eye-catching property tours with AI power. Get started at AgentPulse