
Turning your static listing photos into a dynamic video isn't just a fancy add-on anymore—it's how you grab a buyer's attention and prove to sellers you're the right agent for the job. It's about creating an experience, something that gives a real feel for a home's layout and flow. With a little motion, the right music, and some key text, you can make your listings pop on the MLS, social media, and your own website.
Why Video Isn't Just an Option—It's Essential
Let's be honest, the market is flooded with listings. Buyers are scrolling endlessly, and a gallery of static photos just doesn't cut through the noise like it used to. This is where knowing how to create a simple video from your photos becomes your secret weapon. It’s not about being a filmmaker; it’s about taking the beautiful photos you already have and weaving them into a story.
A well-made video tour gives a sense of being there. It simulates a walkthrough, showing how the kitchen flows into the living room or how the light hits the primary bedroom in the afternoon. It’s this emotional connection that gets buyers to pick up the phone and book a showing.
The Numbers Don't Lie
This shift to video isn't just a hunch; the data backs it up. Clients are actively looking for agents who use modern marketing. The numbers tell a powerful story about why video is a must-have in your toolkit.
| Metric | Impact of Using Video | Data Point |
|---|---|---|
| Seller Preference | The vast majority of sellers want video in their marketing plan. | 85% of Sellers |
| Homeowner Choice | Homeowners are more likely to list with video-savvy agents. | 73% of Homeowners |
| Lead Quality | Video generates more serious inquiries. | 66% More Leads |
| Return on Investment | The marketing impact significantly outweighs the effort. | 75% Better ROI |
These aren't just vanity metrics. They represent more signed listing agreements, more qualified buyers, and ultimately, more closed deals.
Spending a little time learning these simple video creation skills directly translates into more inquiries, more listings, and a much stronger personal brand.
This Is Not Your Average Slideshow
When people hear "video from photos," they often picture a clunky, old-school slideshow. That's not what we're talking about. Modern tools make it easy to add subtle, professional-looking motion—like a slow pan across a kitchen or a gentle zoom into a cozy fireplace. These small movements guide the viewer’s eye and make the space feel alive.
This guide will show you exactly how to do it.
Being able to create this kind of marketing in-house is a huge plus. It shows sellers you’re committed to showcasing their home beautifully and gives you a powerful asset to engage buyers everywhere online. To learn more about building a winning strategy, check out our essential guide to real estate video marketing.
Crafting a Compelling Story from Your Listing Photos
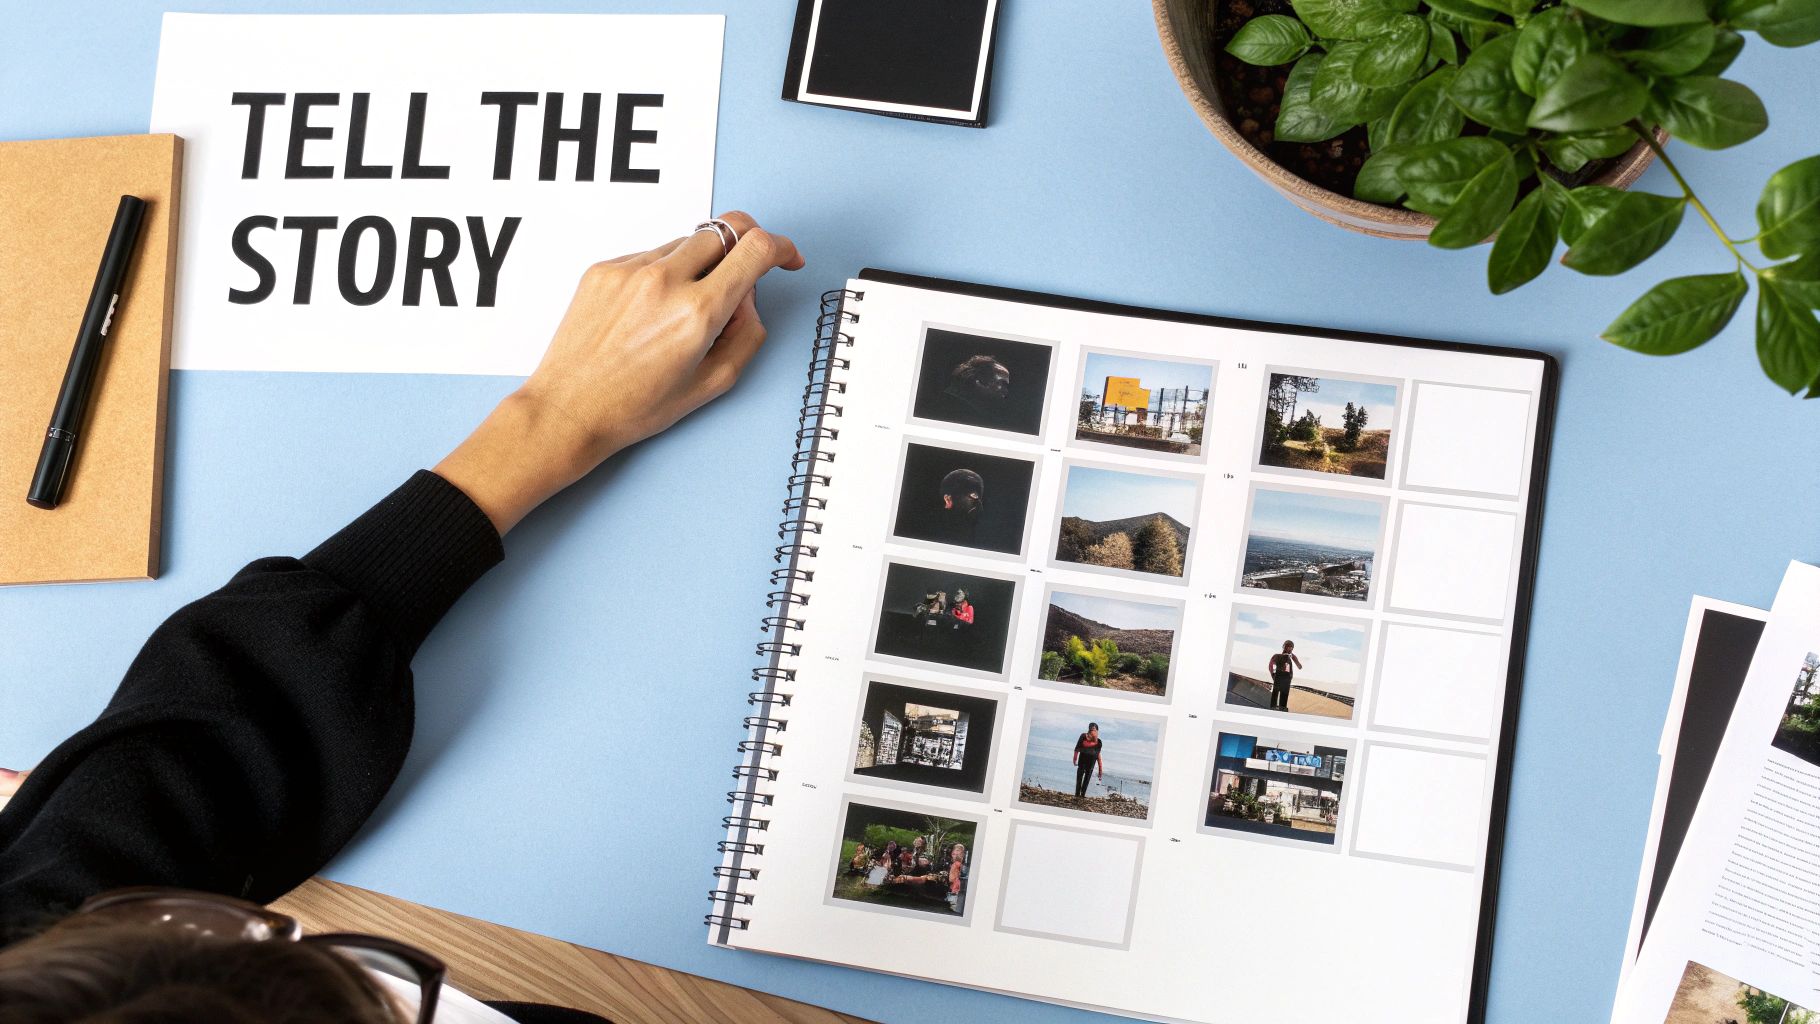
Before you even think about opening your video editor, you need a plan. A great property video isn't just a slideshow; it's a story. Your mission is to take a potential buyer on a virtual journey through the home, making them feel like they're right there with you.
This means you have to be a curator. Don't just dump all 30+ photos from the shoot into your timeline and hope for the best. You're the director here, and your job is to hand-pick the shots that build a compelling narrative and leave a lasting impression.
Structuring Your Visual Narrative
The most effective videos I've seen all have one thing in common: they follow a logical flow that mirrors an actual walkthrough. You start outside and move your way in, just like you would with a client on a Sunday afternoon. This approach feels natural and helps buyers build a mental map of the property.
A proven sequence for video editing real estate content is to think of it like a tour. Here’s a simple framework that just works:
- The Hook (1-2 Photos): Lead with your absolute best curb appeal shot. This is your first and only chance to make an impression, so grab their attention with a stunning twilight photo or a bright, welcoming exterior.
- The Grand Entrance (2-3 Photos): Next, move inside to the entryway and the main living area. This is where you show off the open-concept layout, the flood of natural light, or those incredible soaring ceilings. These shots immediately set the home's tone.
- The Heart of the Home (3-4 Photos): Now, focus on the kitchen. Use a mix of wide shots to show the overall space and tighter shots to highlight the good stuff—new appliances, gorgeous countertops, or that custom tile backsplash.
- Rest and Retreat (2-3 Photos): From the kitchen, transition to the primary suite. Show the bedroom and the en-suite bathroom, focusing on features that make it feel like a personal sanctuary.
- The Supporting Cast (3-4 Photos): Touch on the other key spaces like secondary bedrooms or a home office. Keep this section moving quickly to maintain the video's momentum.
- The Grand Finale (2-3 Photos): Always end with a bang. Save a memorable, high-impact feature for last, whether it’s the beautifully landscaped backyard, a killer view from the deck, or a cozy outdoor fire pit.
This structure tells a simple, powerful story: "Welcome. Look at this amazing living space, the fantastic kitchen where you'll make memories, the peaceful master suite, and this incredible backyard where you can unwind."
By sequencing your photos to tell a story, you're not just showing a property; you're selling a lifestyle. The flow should feel so natural that the viewer forgets they're just looking at a series of still images.
Preparing Your Photos for Editing
With your story mapped out, it's time for a little prep work. Spending a few minutes getting your source material right is the single easiest way to guarantee a professional-looking video. Trust me, this will make the actual editing process so much smoother.
The name of the game is consistency. A video that jumps between photos with different lighting or quality feels jarring and amateur. A quick check to standardize your images is a non-negotiable step.
Here’s what you need to do before importing anything:
Use High-Resolution Images: This is critical. Always start with the highest quality JPEGs your photographer provides. When you add motion to low-res photos, they’ll look pixelated and blurry, especially on a desktop monitor. A minimum of 1920 pixels on the longest side is a safe bet.
Ensure Consistent Lighting and Color: Quickly scan your selected photos. Does the color and brightness feel consistent from room to room? If the living room is warm and golden but the kitchen is cool and blue, it breaks the illusion of a seamless tour. A few minor tweaks in a basic photo editor can fix this in seconds.
Check for Distractions: Look for anything that pulls the eye away from the home itself—a forgotten garbage can in an exterior shot or the photographer’s reflection in a mirror. Simple cloning or cropping can clean these up before they ever make it into your final cut.
By nailing down a clear narrative and prepping your photos, you've already done most of the heavy lifting. This foundational work is what separates a polished piece of marketing from a forgettable slideshow. Now, the editing phase is all about adding style, not fixing problems.
Making Your Photos Move: Motion and Effects That Sell
You've picked your best shots and arranged them in a way that tells a story. That's the blueprint. Now, it's time for the magic—turning that static sequence of photos into a dynamic tour that makes a buyer feel like they're walking through the home.
This is where subtle motion and clean effects come into play. The goal isn't to create a flashy, over-the-top production. It's about crafting an elegant, sophisticated experience that feels smooth and inviting. A few simple, well-executed techniques are all you need to transform a basic slideshow into a seriously effective marketing tool.
Give Your Photos a Sense of Life
Static images show a space, but images with motion bring it to life. By adding small, deliberate movements, you can guide the viewer's eye and create a real sense of depth and scale that a flat photo just can't match.
The most popular and effective technique for this is often called the "Ken Burns effect." It’s a simple, slow zoom combined with a gentle pan across the image.
Imagine you have a great shot of a living room with big windows overlooking a garden. Instead of just letting the photo sit there, you could start with a slightly closer view of the fireplace, then slowly zoom out while panning left to reveal the windows and that beautiful view.
This simple move accomplishes two key things:
- It directs the viewer's focus. You control the experience, highlighting the cozy fireplace first before opening up to the expansive backyard.
- It feels more cinematic. The slow, steady movement mimics how our eyes naturally scan a room, making the whole thing feel more organic and less like a PowerPoint presentation.
You can use this everywhere. Zoom in on the granite countertops in the kitchen or pan across a wide shot of the backyard to emphasize its size. The key is to always keep the movement slow, steady, and purposeful.
Create Depth with a Touch of 3D
Ready to take it up a notch? Try adding a parallax effect. It sounds technical, but it's really just a simple illusion of three-dimensional depth created by making different layers of an image move at different speeds.
Think about when you're looking out the window of a moving car. The guardrail on the side of the road zips by, but the mountains way off in the distance barely seem to move. Parallax recreates that same effect right in your video.
Many modern video tools, including AgentPulse, can do this for you automatically. The software is smart enough to identify the foreground (like a kitchen island) and the background (the cabinets behind it) and move them just slightly out of sync.
The result is a subtle but powerful effect that makes a 2D photo feel like a short, sweeping video clip. It makes rooms feel more spacious and gives your entire production a high-end, polished look. For more ideas on enhancing your visuals, our guide on creating a compelling walk-through real estate video has some great additional tips.
The best motion effects are the ones people don't even consciously notice. They just feel that the video is more professional and immersive. The goal is elegance, not a special effects showcase.
Use Transitions That Don't Distract
How you get from one shot to the next is just as important as the motion within the shots. A cheesy or jarring transition can instantly make your video feel amateurish and, by extension, cheapen the perception of the property.
Forget the star wipes, page peels, and spinning cube effects. They're distracting, dated, and have no place in a professional real estate video. Simplicity is your best friend here.
Honestly, you only need two transitions in your toolkit:
- Cross Dissolve: This is the industry standard for a reason. One shot gently fades out as the next fades in, creating a soft, seamless flow that’s easy on the eyes. It’s perfect for moving between different rooms or showing various angles of the same space.
- Simple Fade: Fading to black before fading in the next shot creates a nice "beat" or a moment to pause. This works well when you're separating distinct sections, like moving from the interior tour to the exterior and backyard photos.
Stick with these classics. They keep the focus where it belongs: on the property, not on your editing software.
Remember, this isn't just about one listing. Video is a powerful tool for your entire brand. Social media videos, for example, generate 1200% more shares than text and image posts combined. With about 63% of agents already using video for social media marketing, it's clear this is no longer a "nice-to-have"—it's a fundamental part of building a successful brand online. You can learn more about the impact of video by checking out these real estate video marketing statistics.
Adding the Final Polish to Your Property Video
You’ve arranged your photos and added some slick motion to bring the property to life. Awesome. Now it's time for the final touches—the little details that take a video from "good enough" to "wow." This is where you add the professional polish that makes your video a serious marketing tool.
Nail the First and Last Impression
First impressions are everything, so a clean intro is non-negotiable. Forget the long, flashy animations. All you really need is a simple title card with the property address and your logo. Keep it on screen for just 3-4 seconds before diving into the first shot.
Likewise, a clean outro wraps everything up nicely. End your video with a simple screen showing your contact details and a clear call to action, like "Schedule Your Tour Today." It reinforces your brand and tells interested buyers exactly what to do next.
Highlight Key Features with Text
Your photos are the star of the show, but a few well-placed text overlays can be incredibly powerful. Think of them as pointing out the best features that a picture might not fully capture on its own.
Use them sparingly to spotlight things like:
- Premium Upgrades: "Brand New Quartz Countertops"
- Unique Spaces: "Private Backyard Oasis"
- Important Specs: "Over 2,500 Sq. Ft."
When adding text, keep it simple and easy to read. Pick a modern font that matches your brand style. Stick it in a corner or along the bottom third of the screen where it won’t block the view. Adding a faint drop shadow can help it pop just enough without being obnoxious.
The whole point of text overlays is to add value, not distraction. They should support the visuals, not fight with them. Keep them short, punchy, and focused on what matters most to buyers.
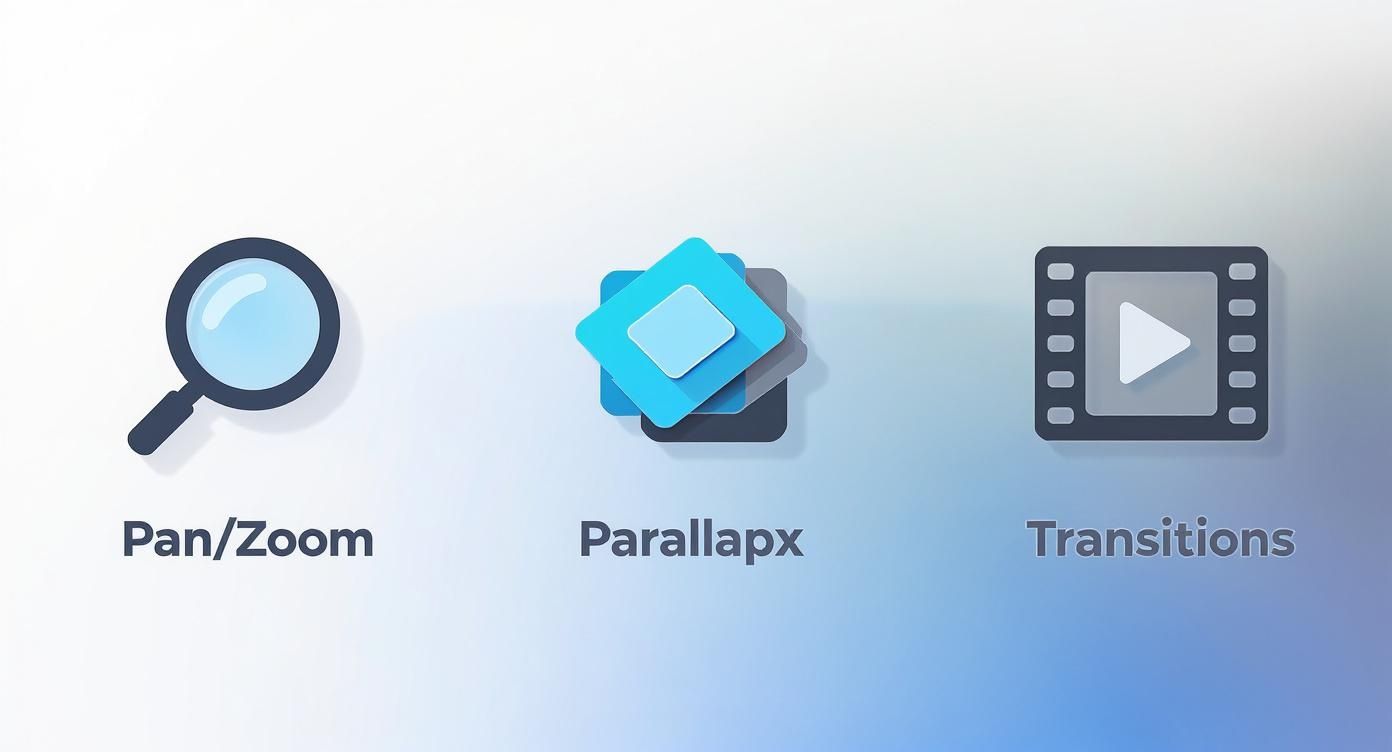
The image below shows some of the core effects you'll be working with—like parallax and pans—to create that professional feel.
Find the Perfect Soundtrack
Music is what gives your video its soul. The right song can make a home feel warm and inviting, sleek and modern, or calm and peaceful. But this is also where a lot of agents get into trouble. You absolutely cannot just grab a popular song off the radio.
Using copyrighted music without permission is a quick way to get your video taken down from YouTube or Facebook, and it can even lead to fines. The answer is royalty-free music. There are fantastic websites full of high-quality, licensed music made just for videos like these.
When you're picking a song, think about the personality of the house. An upbeat, modern track works for a downtown loft, while a gentle, acoustic tune might be perfect for a cozy family home. The music should set the mood, not steal the spotlight.
Once you have your track, check the audio levels. A classic rookie mistake is making the music way too loud. You want it to be present enough to set the tone, but quiet enough that it stays in the background. Do a quick sound check on your phone and computer speakers to get it just right.
Getting these final details right makes a huge difference. The numbers don't lie: listings with video get 403% more inquiries than those without. Properties marketed with video can also sell up to 31% faster. For a deeper dive, check out these insightful real estate video statistics.
Getting Your Video Seen by the Right Buyers
https://www.youtube.com/embed/qSeOwX4eTlM
Creating a beautiful, engaging video is a huge win, but it’s only half the battle. A stunning property tour won't generate a single lead if it’s just sitting on your hard drive. The final, crucial step is getting your polished video in front of qualified buyers and impressed sellers.
This isn’t about just blasting a link everywhere and hoping for the best. It’s about a deliberate, multi-channel approach where your video works hard for you across every platform—from the MLS to social media and beyond. We'll cut through the technical jargon of exporting and lay out a clear plan to make sure your video gets the attention it deserves.
Exporting Your Video for Every Platform
Different platforms have their own rules. A video that looks perfect on YouTube might get awkwardly cropped on Instagram, immediately looking unprofessional. To avoid this common mistake, you need to export a few different versions of your video, each one perfectly sized for its destination.
Don't worry, you don't need to be a tech guru. Just think of these as simple recipes for a perfect result every time.
Quick Export Cheat Sheet:
- For MLS & YouTube: This is your main, high-quality version.
- Aspect Ratio: 16:9 (standard widescreen)
- Resolution: 1080p (1920x1080 pixels)
- Format: MP4
- For Instagram Reels & TikTok: These platforms are all about vertical video.
- Aspect Ratio: 9:16 (tall/portrait)
- Resolution: 1080x1920 pixels
- Format: MP4
- For Facebook & Instagram Feed: Square video is king here for grabbing attention in the scroll.
- Aspect Ratio: 1:1 (square)
- Resolution: 1080x1080 pixels
- Format: MP4
Most modern video editors, like AgentPulse, make this incredibly easy. You can usually switch between these formats and export tailored versions with just a few clicks. Taking this extra minute ensures your video looks polished no matter where a potential buyer finds it.
A Multi-Channel Promotion Strategy
With your video files ready to go, it’s time to launch. The goal is to create multiple touchpoints where buyers can discover and engage with your listing.
Get It On the MLS First
This is your top priority. The MLS is where the most serious buyers are actively searching. Most platforms now support video, so make sure you either upload it directly or add the YouTube link. This simple action immediately makes your listing stand out from the thousands that are just a wall of static photos. It’s a proven way to get more clicks and keep buyers on your page longer.
Pro Tip: Don’t just post a link to your video—embed it. An embedded video plays directly within the listing or your website. It creates a seamless, professional experience that keeps potential buyers focused on the property, not on clicking away to another site.
Craft Compelling Social Media Posts
Those vertical and square videos you exported are ready for their moment. When you post, don't just drop the video with the property address. Tell a little story in the caption to hook people in.
For example, instead of a dry "123 Main Street | 3 Bed, 2 Bath," try something with a bit more personality: "Imagine waking up to coffee on this sun-drenched patio! ☀️ This beautiful home at 123 Main Street has the backyard oasis you've been dreaming of. Tap to take the full tour!"
And don't forget hashtags to expand your reach:
- Location-specific:
#YourCityRealEstate,#NeighborhoodNameHomes - Property-specific:
#NewListing,#HouseHunting,#DreamHome - Industry-specific:
#RealEstate,#RealtorLife,#JustListed
Leverage Your Email Newsletter
Your email list is a goldmine. It's filled with warm leads—past clients, current buyers, and people who have already shown interest in what you do. Send out a dedicated email blast announcing the new listing.
Here's a trick that works wonders: take a compelling screenshot from the video, overlay a "play" button icon on it, and make that the main image in your email. When subscribers click the image, link them directly to the video on YouTube or your website. It's far more engaging than a plain text link. For a deeper dive, you'll find great ideas in our guide on digital marketing for real estate agents.
Tracking Your Success
So, how do you know if any of this is actually working? A few simple metrics will tell you the story.
On platforms like YouTube, look at your view count and, more importantly, the average watch time. A high watch time is a great sign that your video is holding people's attention.
On social media, pay attention to shares and comments. Are people tagging their partners or friends? That’s a powerful signal of genuine interest. By keeping an eye on these simple indicators, you can see the direct impact your video efforts are having on your business.
Real Estate Video FAQs: Your Questions Answered
Jumping into video editing always brings up a few questions, even for seasoned pros. You've got your photos and a plan, but what about the nitty-gritty details? Things like picking the right software, nailing the video length, or deciding if it’s time to call in a professional.
Let’s clear up some of the most common questions we hear from agents. Getting these answers sorted out will make your entire workflow smoother and your final video that much better.
What’s the Best Software for Real Estate Videos?
Honestly, the "best" software is the one that fits your workflow and doesn't make you want to pull your hair out. You don’t need a Hollywood-grade editing program to turn great photos into a compelling property tour. Many of the best tools today are built specifically with agents in mind.
Here’s a quick look at your main options:
- Simple Online Editors: Tools like Animoto or AgentPulse are designed for one thing: getting a professional video done fast. They come packed with templates and royalty-free music, all wrapped in a simple drag-and-drop interface. Perfect for busy agents.
- All-in-One Design Tools: Canva has become a powerhouse for agents. While it's famous for graphics, its video editor is surprisingly solid for creating quick, branded videos for your social channels.
- On-the-Go Mobile Apps: If you live on your phone, an app like CapCut is a fantastic choice for making those trendy, vertical videos for Instagram Reels or TikTok.
- Pro-Level Desktop Software: For agents who crave total creative control, DaVinci Resolve offers a mind-blowingly powerful free version. Just be warned: the learning curve is steep, and you’ll need a decent computer to run it smoothly.
For most agents turning photos into videos, a user-friendly online editor hits that sweet spot between powerful features and ease of use.
The right tool is the one you'll actually use. Don't get bogged down by complex features you don't need. Choose software that makes your life easier and helps you get listings marketed faster.
How Long Should a Real Estate Video Be?
Keep it short and sweet. Buyer attention spans are fleeting, especially when they’re scrolling through a dozen other listings. Your goal isn't a full-length feature film; it's a captivating highlight reel that makes them want to book a showing.
For a standard property tour made from photos, the magic number is between 60 and 90 seconds. That's just enough time to guide viewers through the home's best features without them getting bored. If you're creating something specifically for social media, think even shorter—under 60 seconds is perfect for Instagram and Facebook.
Anything that creeps over the two-minute mark is asking for trouble. You risk losing your audience before they even get to the stunning primary suite or the backyard oasis. Stay concise and leave them wanting more.
Can I Just Add My Own Music?
This one’s a biggie. It's so tempting to drop in a popular song from the radio, but doing so is a fast track to trouble. Using copyrighted music without a license can get your video taken down from YouTube or social media, and in a worst-case scenario, it could even land you in legal hot water.
The safest, most professional move is to use royalty-free music. Reputable video platforms, including AgentPulse, have built-in libraries of licensed music that's cleared for you to use anywhere—the MLS, your website, social media, you name it. No stress, no risk.
Should I Hire a Pro Video Editor?
Hiring a professional is always an option, but it really comes down to cost and time. A professional edit for a real estate video can run you anywhere from $70 to over $300, and that can add up fast when you’re juggling multiple properties.
So, when does it make sense to outsource?
- For a High-End Luxury Listing: When you need a truly cinematic feel to match a multi-million dollar property, the investment can pay off.
- When You're Totally Swamped: If you simply don't have the bandwidth, offloading the task can be a lifesaver.
But here’s the thing: today’s software has made it incredibly easy to get a polished, professional result on your own. With a tool designed for agents, you can create a high-quality video in a few minutes for a tiny fraction of the cost. Plus, you get complete control and can get your listing to market that much faster.
Ready to create stunning property videos in minutes without the hassle or high cost? AgentPulse uses AI to automatically transform your listing photos into cinematic tours with dynamic motion and cleared music.
Get started for free and see how easy it is at https://www.agentpulse.ai