A video walkthrough is more than just a marketing gimmick; it’s a guided tour that brings a property to life. It lets potential buyers move through a home virtually, giving them a real sense of its layout, flow, and character in a way static photos just can't match. This has quickly become an essential tool for building an emotional connection with buyers and giving them the confidence to take the next step, especially if they're not local. For agents, a slick video walkthrough is a powerful way to win more listings and make your properties stand out.
Why Video Walk Throughs Win Listings and Buyers
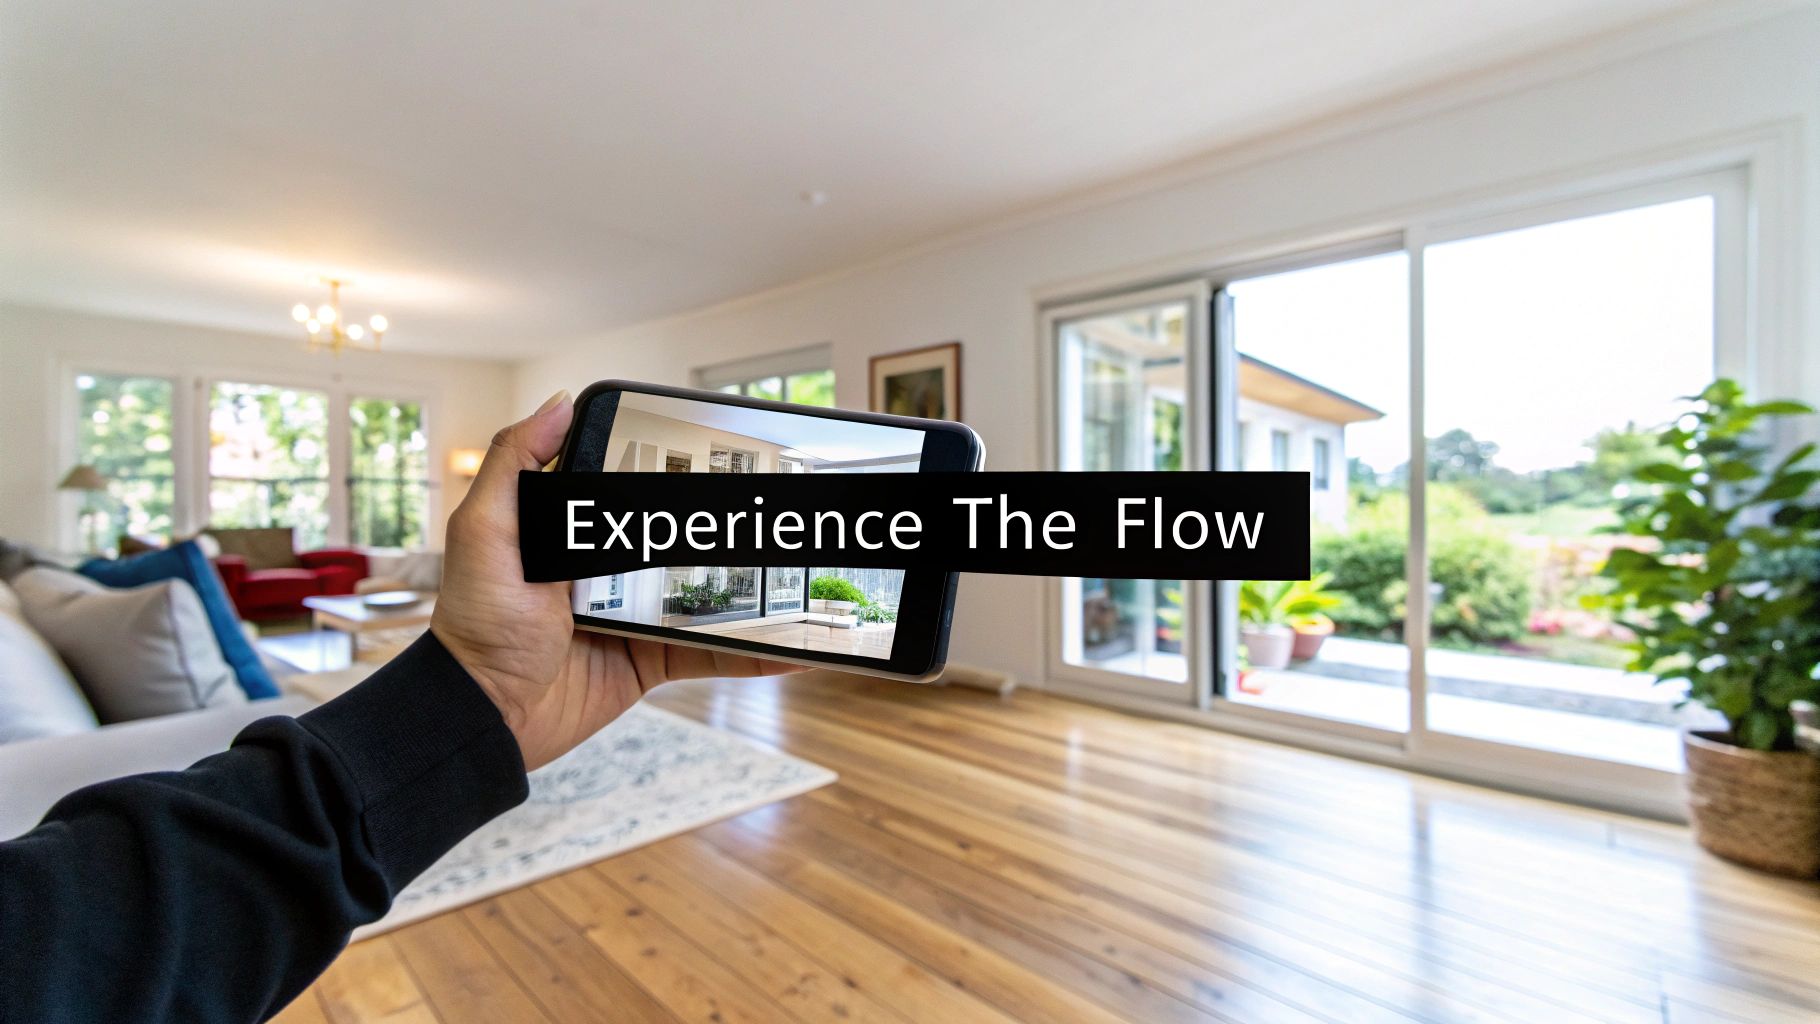
In a market flooded with listings, you have to do something different to get noticed. Professional photos are still the foundation of any good listing, but they only tell part of the story. Photos capture a single moment in time, while a video walk through tells the home's story. It gives buyers a chance to feel the flow of the space, understand how the rooms connect, and get a genuine sense of the home's atmosphere.
This immersive experience is what builds an emotional bridge long before a buyer ever steps through the front door. They can start picturing where their sofa would go, imagine themselves cooking in the kitchen, or see how the morning sun fills the primary bedroom. That connection is what turns a casual online browser into a genuinely interested lead.
Video Builds Trust and Filters for Serious Buyers
A great video tour is a testament to your transparency as an agent. You're showing the property as it is, with nothing to hide, which immediately builds trust with potential buyers. It positions you as a credible professional who is confident in the listing.
On top of that, video is an incredibly effective filter. It provides a detailed enough preview for buyers to decide if the home is a real contender for them. This means the calls and emails you get are from people who are already serious, saving you—and your sellers—a ton of time.
The numbers don't lie. Listings that include a high-quality video walkthrough see a massive 403% more inquiries than those that rely on photos alone. That's not a small jump; it’s a game-changer driven by buyers who want to truly envision themselves in a space before committing to a showing. You can dig into more of these powerful real estate video statistics to see the full picture.
The Agent's Secret Weapon
When you're competing for a new listing, offering professional video tours gives you a serious leg up. Sellers know that better marketing attracts better offers, and they’re far more likely to sign with an agent who uses every tool available to get the best price for their home.
A great property video doesn't just sell a house; it sells a lifestyle. It’s the difference between showing someone a floor plan and inviting them to imagine their future.
Even with all these benefits, many agents hesitate. The roadblocks usually come down to a few common concerns:
- Time: The whole process of planning, filming, and editing just seems too time-consuming.
- Cost: Hiring a professional videographer or buying expensive gear feels out of reach.
- Complexity: Many agents just don't feel confident they have the technical skills to create something that looks polished and professional.
Luckily, things have changed. New tools and simpler workflows are making it easier and more affordable than ever to create a compelling video walk through. This guide is designed to give you a practical, step-by-step process for producing high-quality videos that grab buyers' attention and help you win more listings, all while tackling those common pain points head-on.
Laying the Groundwork for a Killer Property Video
A truly great property video never happens by accident. It's the product of smart, upfront planning. The biggest mistake I see agents make is just showing up, hitting record, and hoping for the best. The real magic happens before you even set foot on the property, making sure every single shot tells a piece of the home's story.
This is where you can really set yourself apart. Homeowners get it—a massive 73% of them say they’re more likely to list with an agent who uses video. Yet, only about 9-10% of agents are actually doing it. That’s a huge opportunity just waiting for you. If you want to dive deeper, check out the latest real estate video statistics and see for yourself.
A little bit of forethought here turns a simple tour into a high-impact marketing tool that makes your commission feel like a bargain and leaves sellers seriously impressed.
Your Roadmap: The Simple Shot List
Your mission is to craft a visual story, not just string together a bunch of random clips. A shot list is your roadmap for that story. It doesn't need to be fancy; a quick note on your phone or a scribble on a notepad is all it takes to guide you through the property in a way that feels completely natural to a buyer.
Think like you’re the buyer walking through the front door for the first time.
- First Impressions: Kick things off with a great exterior shot. Get the front of the house, the neat landscaping—the whole curb appeal package. This is your digital handshake.
- The Welcome: Next, open that front door and film the view from the entryway. This shot needs to immediately hook them with the home's best feature, whether it's a soaring foyer, a wide-open living space, or a killer view out the back.
- The Heart of the Home: Move smoothly through the main living areas—the living room, dining room, and kitchen. Plan your shots to show how these rooms flow together, creating a sense of connection.
- The Owner's Retreat: Spend some real time on the primary bedroom and bathroom. This is a critical space where buyers need to be able to picture themselves unwinding.
- The Rest of the Story: Give a quick but clear look at the other bedrooms, bathrooms, and any bonus areas like a home office or finished basement.
- The Grand Finale: End your tour outside. Show off the patio, deck, pool, or garden. This is your final "wow" moment that leaves a lasting impression.
By mapping out this simple path, you guarantee a video that flows beautifully and tells a compelling story about the home.
Staging for the Lens, Not Just for a Showing
Here’s a pro tip: staging for a video is a whole different ballgame than staging for an in-person visit. The camera has a funny way of making clutter look worse and rooms feel smaller. Your goal is to create a feeling of space, light, and endless possibility.
A well-staged room for video isn't just clean; it's curated. Every item should either highlight a feature or help the buyer envision a lifestyle.
To get a property ready for its close-up, focus on these essentials:
- Declutter, Then Declutter Again: Be ruthless. Get rid of almost all personal photos, extra furniture, and everything on the kitchen counters. The camera loves clean lines and open floors—it makes the whole home feel bigger and brighter.
- Let There Be Light: Open every single blind, curtain, and shutter. Give the windows a good cleaning, inside and out. Good, natural light is your best friend for making footage look professional and welcoming. Try to shoot when the sun isn't shining directly into the windows to avoid harsh, distracting shadows.
- Add Lifestyle Touches: As you take away the personal clutter, add back a few small, impersonal details that hint at a lifestyle. A bowl of fresh lemons on the kitchen island, a cozy throw blanket draped over the sofa, or a couple of wine glasses on the patio table can do wonders for helping buyers connect emotionally.
- Do a Camera Walk-Through: Before you officially start filming, pull out your phone and walk through the house, looking through its camera. You’ll be amazed at what you notice—a weird reflection in a mirror, a crooked picture, or a chair that needs to be moved just six inches to open up a hallway. This quick pre-flight check can save you a ton of headaches later.
Choosing Your Video Creation Method
Alright, you've got your plan. Now comes the big decision: how are you actually going to create this video? The best path for your video walk through real estate tour really boils down to your budget, how much time you have, and the final look you're going for.
Today, there are two main roads you can take. You can go the traditional route with on-site videography, or you can jump on the increasingly popular method of using AI to turn your listing photos into a slick video.
Shooting it yourself gives you total creative control over every shot, every angle, every smooth pan. But, tools powered by AI offer incredible speed and consistency, spinning a set of professional photos into a beautiful video in just a few minutes. Let's break down both.
Comparing Video Creation Methods
Deciding between shooting on-site and using an AI tool can feel like a tough choice. Each has its place depending on the property, your timeline, and your resources. This table lays out the core differences to help you decide which workflow makes the most sense for your next listing.
| Factor | On-Site Videography | AI Photo-to-Video (e.g., AgentPulse) |
|---|---|---|
| Time Investment | High (2-4 hours on-site + 3-6 hours editing) | Very Low (5-10 minutes to upload photos and generate) |
| Cost | Moderate to High (gear purchase or hiring a pro) | Low (typically a small monthly or per-video fee) |
| Skill Level | Intermediate to Advanced (requires knowledge of stabilization, lighting, and editing software) | Beginner (simply upload high-quality photos) |
| Consistency | Varies by shoot and operator skill | Extremely High (produces a polished, consistent look every time) |
| Flexibility | Low (reshoots required for changes) | High (regenerate video instantly with new photos or a different order) |
| Final Output | Can be highly cinematic and personalized, but requires significant effort. | A clean, professional, and smooth video tour that perfectly matches your listing photos. |
Ultimately, the choice is about balancing control with efficiency. On-site video is great for that one-of-a-kind luxury property where you want to capture a specific mood, but for the majority of listings, the speed and quality of AI-driven tools are hard to beat.
Mastering Traditional On-Site Video Capture
Shooting video on location is the classic approach for a reason—it lets you capture the true vibe of a home. Getting it right, though, comes down to a few key details that separate a polished tour from something that looks like it was shot on a flip phone.
First up, your camera settings. Whether you're using a new iPhone or a fancy DSLR, stick to 1080p (Full HD) at 30 frames per second (fps). This gives you that crisp, professional look without creating gigantic files that will crash your computer during editing. Shooting in 4K is usually overkill for MLS and social media, so save yourself the headache.
Next, you have to eliminate the shakes. Nothing kills a video faster than shaky, jarring footage. A gimbal is a fantastic investment for creating those buttery-smooth gliding shots. If you don't have one, use what I call the "ninja walk"—bend your knees, tuck your elbows into your sides, and walk heel-to-toe. It looks a little silly, but it makes a world of difference.
The goal is to move the camera like a human eye would. Go slow. Be deliberate. Let the viewer actually take in the space before you move on to the next thing.
Finally, be intentional with your camera movements. A few simple, well-executed moves will make your video feel dynamic and professional.
- The Push-In: Walk slowly toward a key feature, like a gorgeous fireplace or a high-end kitchen appliance.
- The Pull-Back: Start with a tight shot on a detail and walk backward to reveal the entire room. This is great for showing scale.
- The Pan: Stand in one spot and pivot slowly from left to right to show off the width of a space.
Mixing these three simple shots is all you need to create a high-quality walkthrough that feels truly inviting.
This flowchart breaks down the crucial prep work that makes any video shoot successful.

As you can see, the real work happens before you ever hit the record button—proper staging, good lighting, and a clear shot list are non-negotiable.
The Game-Changer: AI-Powered Photo-to-Video
While shooting video gives you control, a newer method is taking over because it's just so darn efficient: using AI to turn your photos into video. This approach means you don't even need a video shoot. Instead, you use the same beautiful photos your photographer already took.
The process couldn't be simpler. You upload your high-res listing photos to a tool like AgentPulse. From there, the AI uses a 3D-aware engine to analyze the images and figure out the layout of each room. It actually identifies the walls, windows, and furniture to build a virtual model of the space.
Once it has the lay of the land, the AI automatically generates smooth camera movements—pans, push-ins, and reveals—that look like they were done by a professional videographer. This isn't just a slideshow with cheesy transitions; it's a real video with fluid, intelligent motion created from static images.
The biggest win here is speed. You can get a complete video walk through real estate tour done in a few minutes flat. For busy agents juggling multiple listings, this is a massive advantage. Plus, if you need to make a change, you just re-upload a photo or reorder the rooms and generate a new video instantly. No reshoots needed. If you're curious, you can check out some of the best AI video generators for real estate and see the technology in action.
Of course, for this to work well, the photos you start with have to be good.
- Go Wide: Use wide-angle shots that show as much of the room as possible.
- Keep Lighting Consistent: Make sure all the photos of a single room have the same bright, even lighting.
- Get Multiple Angles: For important rooms like the kitchen or primary bedroom, give the AI a few different angles to work with.
This approach delivers a powerful, fast, and flexible way to get high-quality video for every single listing, no matter your videography skills.
Bringing Your Video to Life in Post-Production
Once you’ve captured your footage or snapped your final photo, the real transformation begins. This is where your raw assets become a polished, compelling video walk through real estate tour that actually grabs a buyer's attention. The path you take from here really depends on how you captured the property in the first place.
If you filmed a traditional video on-site, you’re heading to the editing bay. This means arranging your clips in a logical sequence, trimming out the shaky bits, and tweaking the color and light to make sure everything looks consistent and professional.
The Traditional Video Editing Workflow
If you went the classic route and shot actual video, the editing process is your chance to tell the property's story. Your main goal is to piece together your clips in an order that feels like a natural tour, guiding the viewer seamlessly from the curb appeal all the way to the backyard.
This is more than just dragging and dropping files. You need to focus on clean transitions between your shots—I find that simple cuts or subtle fades work best. Anything more complex can look cheesy and amateurish. You’ll also want to do some basic color correction to make the footage pop, ensuring the whites are bright and the colors look true to life.
While this approach gives you a ton of control, it does require a certain level of skill and, more importantly, a good chunk of your time. You'll also need editing software, which can range from free apps to pricey professional suites. If you're new to this, checking out the best video editing software for beginners can give you a solid starting point without a frustratingly steep learning curve.
I see this all the time: agents overdo it in the edit. A great real estate video feels authentic and smooth, not flashy. Just stick to the basics—a logical flow, clean cuts, and consistent color.
The Streamlined AI Photo-to-Video Process
Now, this is where the game really changes for busy agents. Instead of getting bogged down in an editing suite for hours, an AI-powered photo-to-video workflow turns post-production into just a few simple clicks. This whole method is built for maximum efficiency without sacrificing that high-quality, professional finish we're all after.
The entire process is incredibly straightforward.
- Upload Your Assets: You start by uploading the high-resolution photos from your photographer. You don't have to worry about the order or transitions at this point; you're just feeding the system the raw visuals.
- Let the AI Work Its Magic: Once uploaded, a 3D-aware engine, like the one we use in AgentPulse, analyzes each image. It identifies walls, windows, and focal points to virtually reconstruct the room's layout. This deep understanding allows it to create realistic camera movements—like pans, push-ins, and reveals—that feel like they were actually filmed on-site.
- Set the Mood with Music: A great video needs a great soundtrack. You can pick the perfect tune from a curated library of royalty-free music. The right song can completely change the vibe of a tour, making a home feel energetic, luxurious, or calm and serene.
This approach completely removes the technical headaches that come with video editing. You don't have to learn complicated software, find a reliable freelance editor, or spend your weekend trying to get the color to match between clips.
Why the AI Workflow Wins on Efficiency
The biggest advantage here is the massive amount of time you save. What would normally take several hours of manual editing can be done in under five minutes. This means you can create a professional video walk through real estate tour for every single listing, not just your high-end properties.
Think about these key benefits:
- No Technical Skill Required: Seriously, if you can upload photos to a website, you have all the skills you need.
- Instant Revisions: What if the seller wants to show the kitchen before the living room? Or you want to try a more upbeat song? You can regenerate the entire video in moments.
- Cost-Effective: This method completely eliminates the need to hire a professional video editor, which can save you hundreds of dollars per listing.
At the end of the day, both post-production paths can lead to a fantastic video. The AI-driven approach, however, offers an unmatched combination of speed, simplicity, and professional quality, making it possible for any agent to elevate their marketing with compelling video content.
Getting Your Video Seen: A Smart Distribution Plan
You've done the hard work and created a fantastic video tour. That’s a huge step, but a video nobody sees isn't going to sell a house. Now comes the crucial part: getting that masterpiece in front of as many potential buyers as possible.
This is where a little strategy goes a long way. Your goal is to meet buyers where they’re already scrolling, but you can't just drop the same video file everywhere and expect results. You need to tailor your content to fit each platform, turning casual views into serious inquiries.
One Video, Many Formats
Think of it like dressing for the occasion. Every social platform and listing site has its own audience and technical quirks. To get the best results from your video walk through real estate tour, you need to format it for each specific destination.
Here's my quick-and-dirty guide to the most important platforms for real estate video:
- MLS (Multiple Listing Service): This is your professional home base. Keep it clean and simple with a standard 16:9 landscape video. Crucially, most MLS boards have strict rules against personal branding, so leave your contact info and logos out of this version.
- YouTube: As the world's second-biggest search engine, YouTube is the perfect home for your full, in-depth tour. Stick with the 16:9 landscape format. This is where motivated buyers will go to really explore the property from top to bottom.
- Instagram Reels & TikTok: These platforms are all about grabbing attention fast. You absolutely must use a 9:16 portrait aspect ratio. Chop up your main video into a high-energy, bite-sized clip—ideally under 60 seconds—that showcases the home's "wow" factors.
- Zillow & Other Portals: Just like the MLS, these high-traffic sites prefer the standard 16:9 landscape format. Uploading your video here directly can give your listing a massive visibility boost and keep users engaged much longer.
Writing Captions That Actually Work
Your video might be the star of the show, but a great caption is its essential co-star. A well-written description can be the difference between a viewer scrolling past and one who clicks to schedule a showing.
Start with a hook that piques curiosity. Instead of the stale "Just listed: 3 bed, 2 bath," try something more evocative, like "Imagine waking up to this incredible sunrise every single morning." Once you have their attention, highlight two or three of the home's best features that they can see in the video.
Most importantly, every single post needs a clear call-to-action (CTA). Don't make people guess what to do next.
A powerful CTA invites a specific, low-commitment action. Tell them exactly what you want them to do. Try "Tap the link in our bio for the full photo gallery and price!" or "Send us a DM to schedule your private tour this week!"
A Little YouTube SEO Goes a Long Way
When you upload your full tour to YouTube, spending just a few extra minutes on optimization can help buyers find your listing for weeks and months to come.
Your video's title is the most important piece of the puzzle. Be descriptive and include the full address. A great title looks something like this: "Stunning Video Walk Through Real Estate Tour | 123 Maple Street, Anytown, USA | Modern Farmhouse".
Next, use the description box to tell the property's story. Write a few sentences about what makes the home special, and naturally weave in keywords like "Anytown real estate" or "homes for sale in [Neighborhood]." Always put the link to the official listing page right at the very top.
Finally, add relevant tags. Think like a buyer. What would they search for?
- The full address
- Neighborhood, city, and ZIP code
- "Real estate video tour"
- Property style (e.g., "craftsman home," "modern condo")
This simple process helps YouTube's algorithm connect your video with the right people. This matters because on social media, videos generate a staggering 1200% more shares than text and images combined. For agents, that translates to 66% more qualified leads over the course of a year. To build on this momentum, check out our guide on how to increase social media engagement.
Answering Your Top Real Estate Video Questions
Even with the best plan in place, you're bound to run into a few questions when you start creating property videos. Let’s tackle some of the most common ones I hear from agents so you can move forward with confidence.
How Long Should a Property Video Be?
This is the big one, and the answer is simpler than you think: keep it short and sweet.
For fast-paced platforms like Instagram Reels or TikTok, you absolutely have to stay under 60 seconds. Anything longer, and you've lost your audience. They're there to scroll, so you have to make an immediate impact.
When it comes to the main video for your website, the MLS, or YouTube, aim for the two-to-three-minute sweet spot. That gives you just enough time to hit all the highlights—the gorgeous kitchen, the primary suite, the backyard—without dragging things out. Push past three minutes, and you'll see your viewer count drop off a cliff.
Remember, the goal of a real estate video isn't to show every nook and cranny. It's to create a vibe, an emotional pull that makes a buyer say, "I need to see this place in person." Brevity is your best friend here.
What’s the Best Music for a Real Estate Video?
Music is everything; it sets the entire mood of the tour. The right track can instantly make a home feel exciting, peaceful, or incredibly luxurious. First rule: always, always use royalty-free music. The last thing you want is a copyright strike taking your video down.
The "best" music really depends on the style of the home:
- Modern & Contemporary: Go for something upbeat, clean, and instrumental. Think light electronic or minimalist pop tracks that feel fresh and energetic.
- Traditional or Family Homes: You can't go wrong with warm, inviting acoustic guitar or a soft orchestral piece. It just feels like home.
- Luxury Listings: This is where you bring out the big guns. Sophisticated classical music or a grand, cinematic score can add a serious touch of elegance and elevate the property's perceived value.
Whatever you choose, try to avoid tracks with vocals. Lyrics are distracting and pull the focus away from what you’re trying to sell—the house.
Can I Really Just Use My Smartphone?
You absolutely can. Honestly, the cameras on today's smartphones are fantastic, and they're more than capable of producing a high-quality video tour. It’s less about the gear and more about your technique.
The one non-negotiable is stabilization. If you're using your phone, you have to keep it steady. A gimbal is your best bet for silky-smooth shots. In a pinch, you can use the "ninja walk"—bend your knees, tuck your elbows in, and glide smoothly. It sounds silly, but it makes a huge difference in reducing shaky footage.
Also, lighting is your phone's best friend. Make sure every room is as bright as possible, because phone cameras perform best with lots of light. And please, always shoot horizontally (landscape mode) for your primary videos on YouTube and the MLS.
Ready to create stunning, professional real estate videos from just your photos in minutes? AgentPulse uses powerful AI to generate cinematic video tours that captivate buyers and win you more listings. Eliminate the hassle of filming and editing—try AgentPulse today.